Painting Process
As a student, I don’t have a studio or anything–I paint in my parents’ house and generally annoy my family with the smell of oil paint and turpentine. Another reason why oil paint can be a nuisance is that it’s notoriously difficult to get out of clothes and carpets, and (strangely enough!) stains only seem to appear once they’re fully dry, meaning, impossible to remove. I’ve made a lot of futile cleaning attempts after much shrieking by my poor mother, since both my old room and old clothes were totally beyond saving, pushed past some sort of textile event horizon in terms of recovery. Turns out all it took were some plastic sheets and a smock to avoid making a whole mess, surprise, but hey, everything’s a learning experience.
Despite its fussiness and the fact that it made my room look like a condiment kingdom, I still love oil paint. It’s taken a while for me to learn how to use it, but getting the hang of it felt endlessly rewarding, like any learning process where you mess up a lot before doing something right. I was incredibly frustrated when I first started, mainly because I didn’t know how to wait and there’s really no other option but to. After slowing down, it finally felt like the medium was working with me instead of against me–an oddly applicable life lesson from crusted tubes of paint. That’s what I like most about art: the final product is just a result of following different thoughts through until their end, so it’s more about letting things develop than anything else.
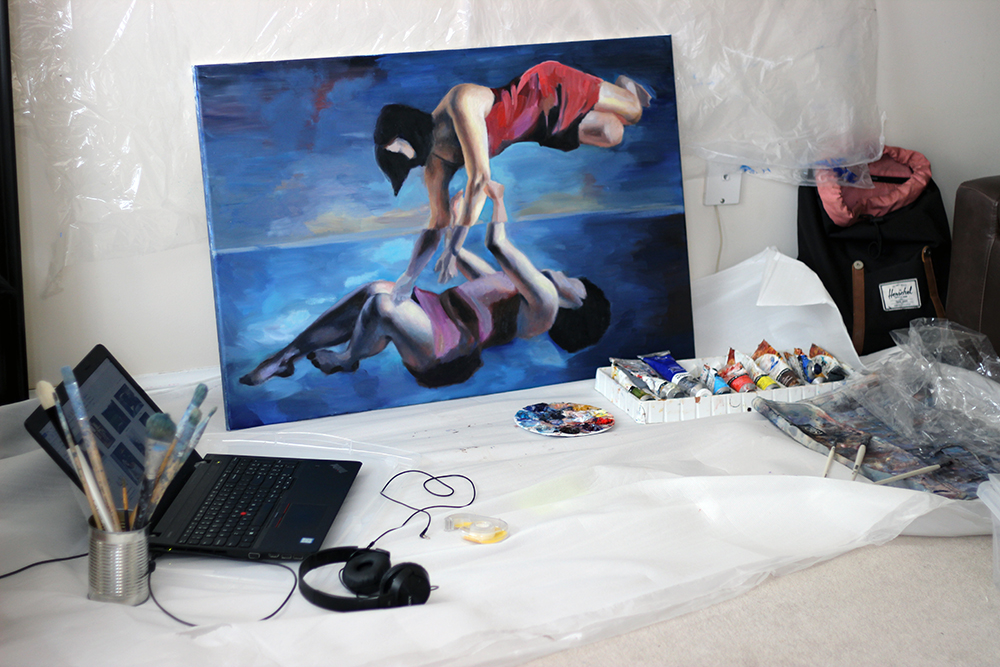
Work area, painting in progress
Process
Stage 1
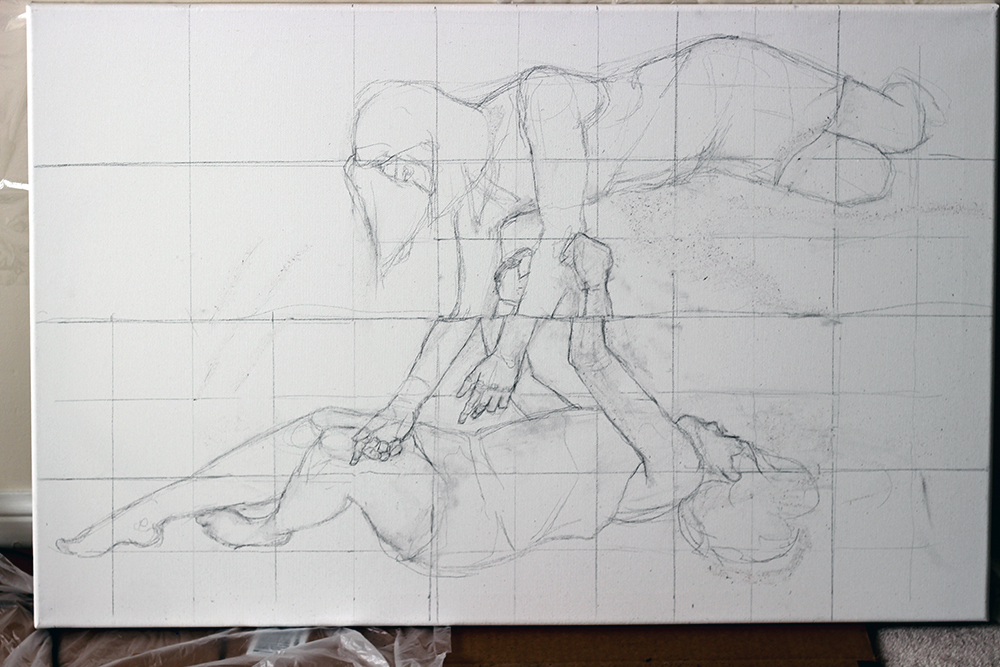
The first stage is drawing. For this painting I had to take my own reference photos–always an awkward experience, and if someone were to walk in, I’d probably feel a bit silly. Initially I had the idea that since the bottom figure is in water, light should bend a bit, which is why the arms don’t align. I thought this was very clever until I realized I actually have no clue how optics work. The arms became straight again in the end.
Stage 2
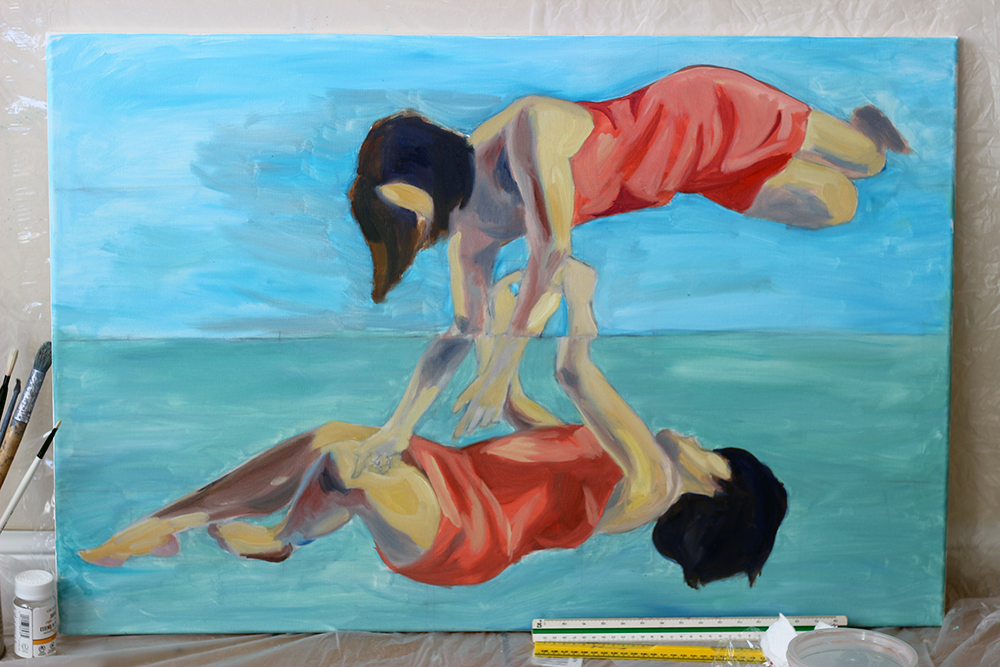
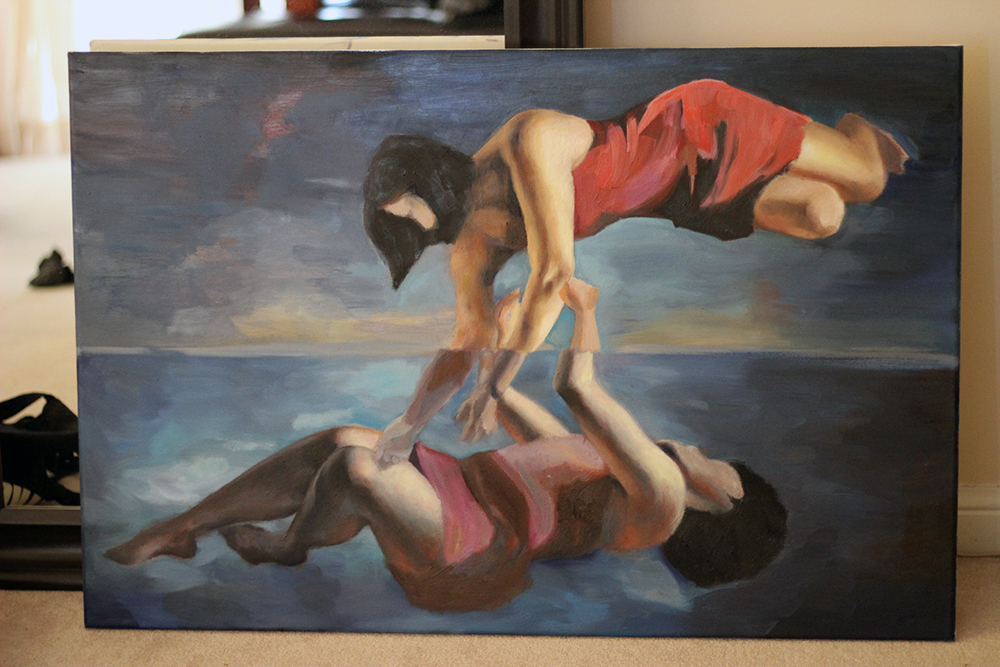
The base layers are painted, diluted with a bunch of turpentine. This is the smelliest stage, and accordingly, this is when I was exiled to work outside. Turpentine is distilled tree resin so it smells like pungent, woodsy alcohol. Not great. Though it’s toxic, it’s useful. Turpentine thins oil paint the same way water thins other paints. The first few layers need to be very thin because of a general rule called ‘lean to fat.’ Since oil paint dries at different rates, ‘lean’ layers (thin and less oily) need to be applied before ‘fat’ layers (thick and very oily). Otherwise the paint film can be unstable and start to crack.
Stage 3
There’s not much going on at this point. Paint needs to be built up to achieve depth, but everything will be covered by later layers so the shades are staying basic. I’ve added highlights, shadows, and basic colours, but no details. A lot of waiting is involved in this stage, since each layer has to be touch dry before continuing.
Stage 4
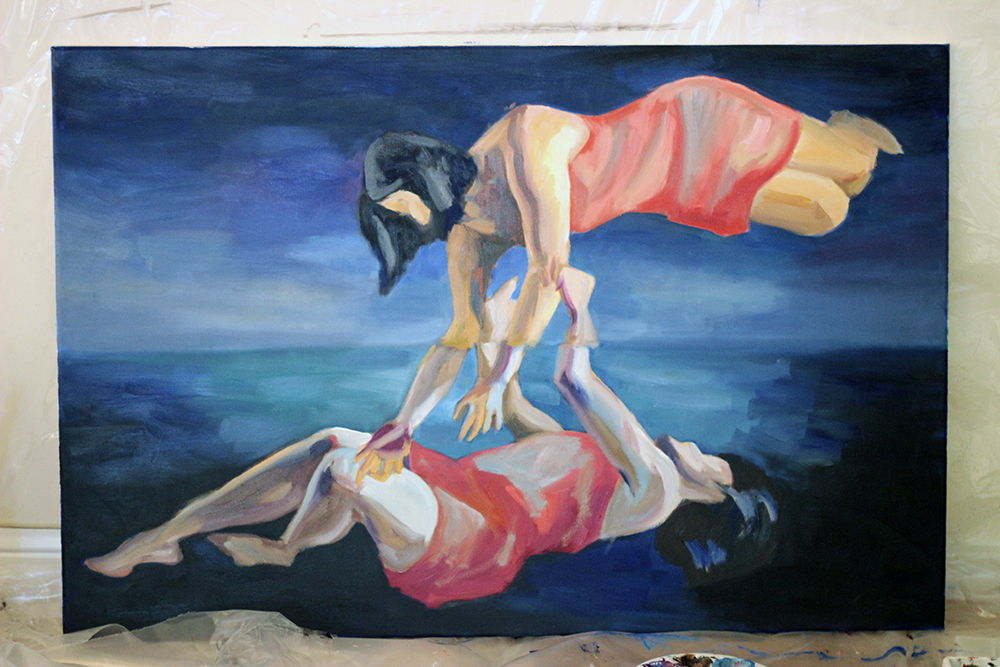
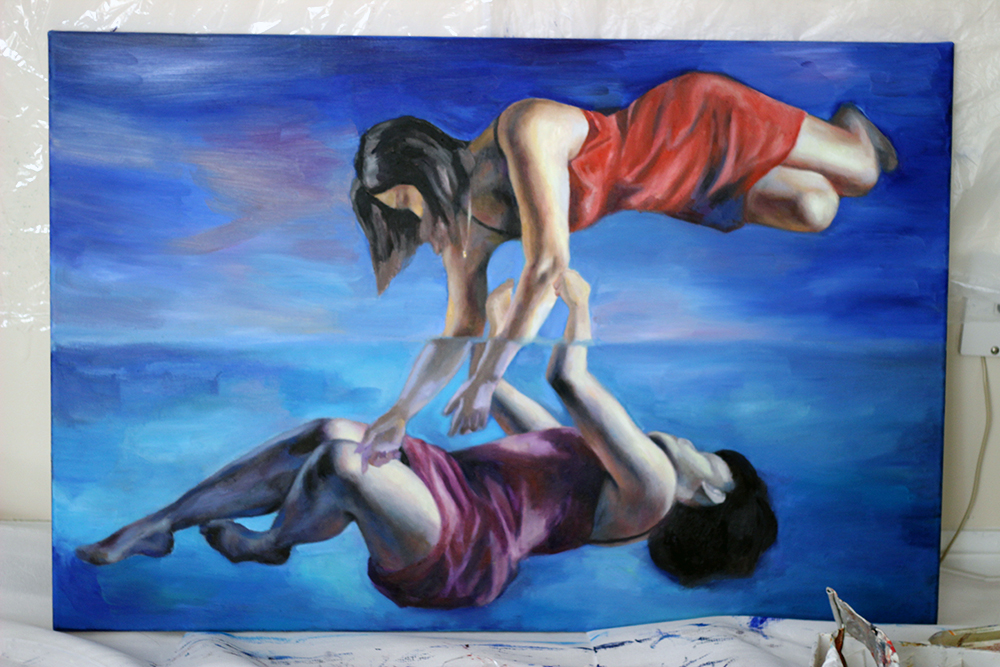
The shading is blended a bit more. Specific areas start to get thick layers, like the limbs of both figures. When a lot of oil paint is applied to an area, it tends to look more lifelike and three-dimensional. The dresses are still thin layers, so they look flat in comparison to the skin.
Stage 5
I’ve finished the flesh tones for the most part and added more values to ignored areas, like the hair and clothes. As usual, I’ve neglected the hands until the end because they’re a pain to do. At this point I considered making a daytime background, but it became so overwhelmingly blue that I soon changed it back.
Stage 6
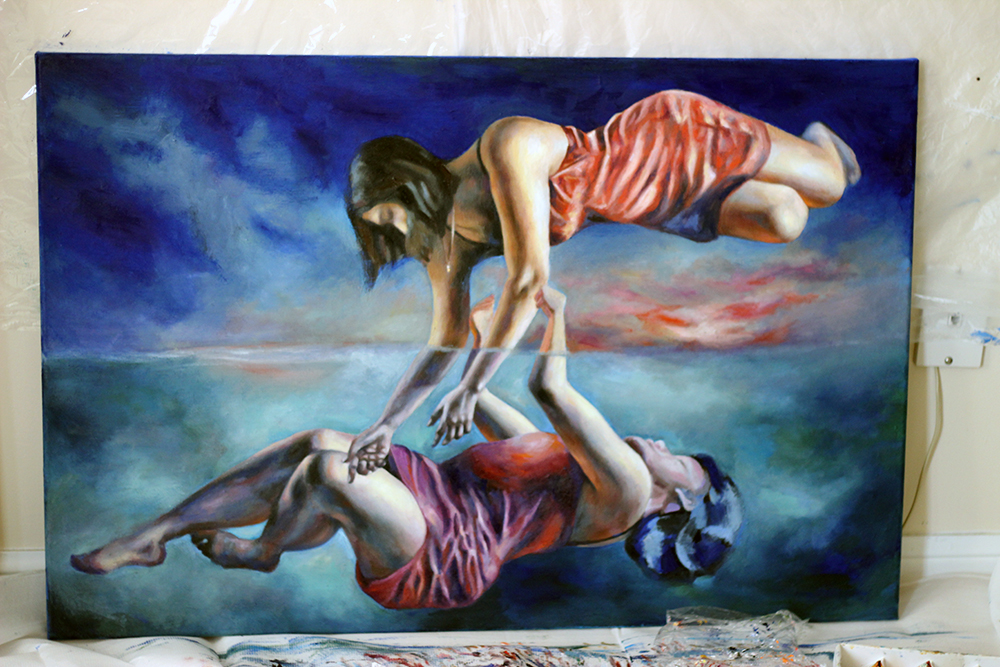
This was my favourite part–being able to play around with light and colour, both in the shadows and background. Sunsets are wonderful because they’re so vibrant. Sometimes trying to make something look realistic can feel restricting, so it’s nice to have areas when you can add some hot pink just because.
Stage 7
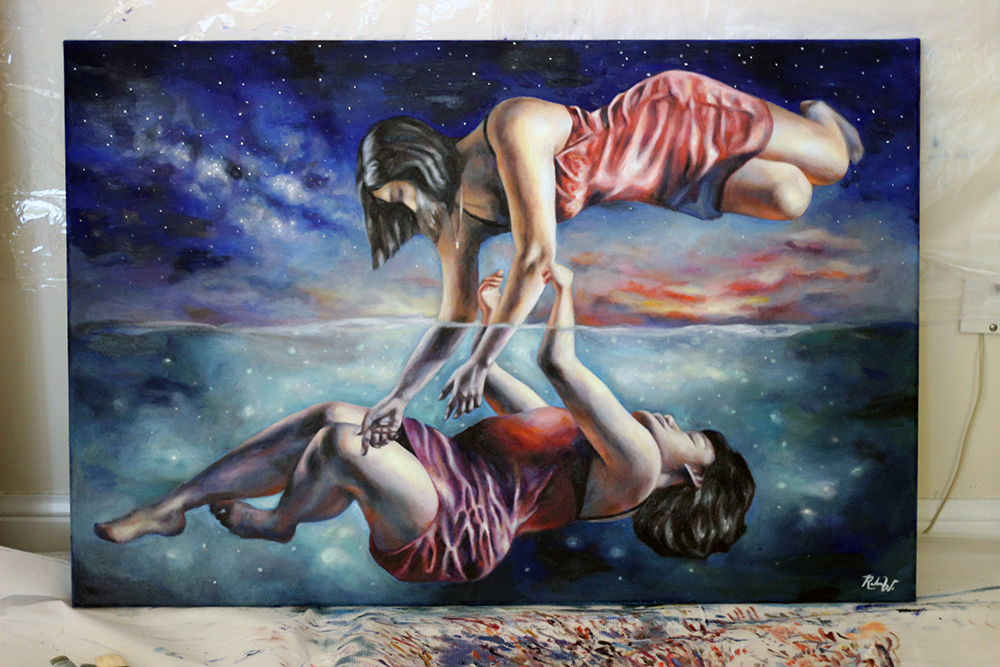
It’s complete! After adding final details I get to sign off in a little corner and be happy. 🙂
 Previous Post
 Next Post